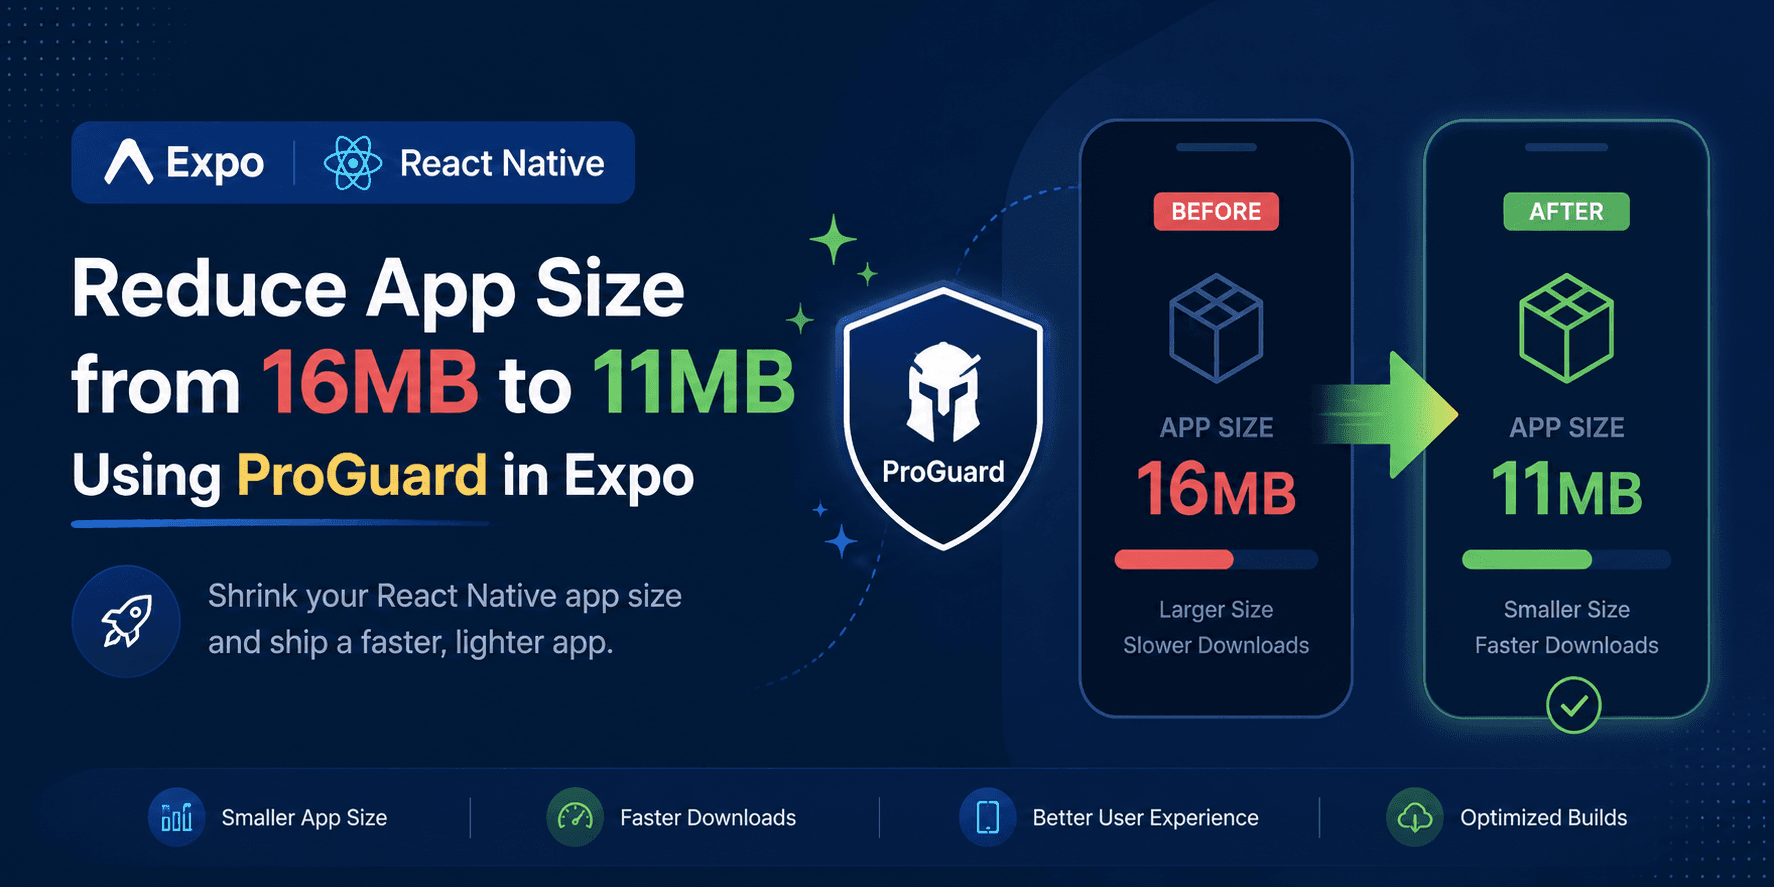
Expo ProGuard Guide: How I Reduced My React Native App Size from 16MB to 11MB
Muhammad Kamran
When I finished building my BMI Calculator app, I expected the Android build to be fairly small.
The app was simple. It did not contain heavy videos, large image libraries, complex animations, or hundreds of screens. But when I checked the estimated download size in Google Play Console, it was around 16MB.
For a lightweight BMI tracker, that felt unnecessarily large.
The app was built using Expo SDK 54 and React Native 0.81. It also used native libraries such as:
React Native Reanimated
React Native SVG
React Native Gifted Charts
AsyncStorage
Expo Router
These libraries are useful, but native Android dependencies and bundled resources can increase the final app size even when the JavaScript logic itself is relatively small.
After removing unused assets and enabling Android code and resource shrinking, I reduced the estimated Google Play download size to around 11.2MB–11.6MB.
This article explains the exact configuration I used, what each setting does, and what you should be careful about when enabling ProGuard or R8 in an Expo project.
What App Size Did I Measure?
Before going further, it is important to understand that Android app size can refer to different things:
APK file size
Android App Bundle size
Google Play estimated download size
Installed size on the user’s device
These numbers are not the same.
Google Play generates device-specific APK files from your uploaded Android App Bundle, so the size shown to users may be smaller than the original .aab file.
For this case study, I compared the estimated download size shown in Google Play Console.
Before optimization, it was approximately 16MB.
After enabling code shrinking and resource shrinking, it decreased to around 11.2MB–11.6MB, depending on the target device.
I applied several changes together.
Step 1: Remove Unused Dependencies and Assets
Before changing the native Android configuration, I cleaned up the project itself.
I removed packages that were no longer being used and deleted unnecessary assets such as:
Default Expo images
Unused splash screen files
Placeholder icons
Unused fonts
Old images left from earlier designs
I also removed react-native-web and react-dom because this app was only targeting Android and iOS.
Removing unused packages is good project maintenance, but it does not always directly reduce the Android build size. Packages listed inside package.json are not automatically included in the final Android app unless they are imported, bundled, or linked.
In my case, the biggest measurable improvement came from Android code and resource shrinking.
Step 2: Enable ProGuard and Resource Shrinking in Expo
Modern Android builds use R8 for code shrinking, optimization, and obfuscation.
However, Expo and React Native still expose the configuration using familiar ProGuard-related names such as:
enableProguardInReleaseBuildsR8 removes unused Java and Kotlin classes from the release build. It can also rename classes and methods to reduce the final binary size.
Resource shrinking removes unused Android resources such as:
XML layouts
Drawables
Images
Strings
Other resources included by native dependencies
To enable these optimizations in Expo, install expo-build-properties:
npx expo install expo-build-propertiesThen update the plugins section inside app.json:
{
  "expo": {
    "name": "BMI Calculator",
    "slug": "bmi-calculator",
    "plugins": [
      "expo-router",
      [
        "expo-build-properties",
        {
          "android": {
            "enableProguardInReleaseBuilds": true,
            "shrinkResourcesInReleaseBuilds": true,
            "proguardFile": "./proguard-rules.pro"
          }
        }
      ]
    ]
  }
}
Here is what each option does.
enableProguardInReleaseBuilds
This enables R8 code shrinking for Android release builds.
It removes unused native code, performs optimizations, and may rename classes and methods.
shrinkResourcesInReleaseBuilds
This removes Android resources that are no longer referenced after code shrinking.
Code shrinking and resource shrinking work well together because unused resources can often only be detected after unused native code has been removed.
proguardFile
This tells the Android build system where your custom ProGuard-compatible rules are located.
In this example, the file is placed in the project root:
proguard-rules.proStep 3: Do Not Add Broad Keep Rules Without a Reason
One common mistake is copying a large list of -keep rules from random blog posts or GitHub issues.
For example:
-keep class com.facebook.react.** { *; }
-keep class expo.modules.** { *; }
These rules tell R8 to keep entire package trees.
That may stop some release crashes, but it can also prevent R8 from removing a large amount of unused code. In other words, broad keep rules can reduce the benefit of enabling code shrinking in the first place.
Modern React Native and Expo libraries often include their own R8 consumer rules, so you may not need custom rules at all.
My recommendation is simple:
Enable code and resource shrinking.
Create a production build.
Test all important features.
Add custom rules only when you have a specific warning or reproducible release crash.
Some native libraries use runtime class discovery, JNI registration, reflection, or generated native code. Incorrect shrinking can sometimes cause problems that only appear in release builds.
That is why production testing is essential.
What Should You Test?
After enabling R8, test every feature that depends on a native module.
For my app, that included:
App startup
Navigation
Reanimated animations
SVG rendering
Charts
AsyncStorage
Theme preferences
All main calculation flows
Do not assume the app is safe just because the build completes successfully.
A release build can compile without errors and still crash at runtime.
Example of a Custom Rule
Only add a rule when a specific library or error requires it.
For example:
# Example only. Do not copy this unless a confirmed issue requires it.
-dontwarn com.example.optional.**
-keep class com.example.runtime.RequiredClass { *; }
The correct rule depends on the exact library and error.
Always check the official documentation or issue tracker of the affected package before adding broad rules.
Step 4: Build the Optimized Android App
For an EAS production build, run:
eas build --platform android --profile productionExpo will apply the config plugin during the native build process.
You can also generate the native Android project locally using:
npx expo prebuild --cleanHowever, prebuild --clean recreates the native Android and iOS directories.
Only use it when you need to inspect or regenerate native files. Make sure any manual native changes are committed or backed up before running it.
Results
After enabling release code shrinking and resource shrinking, the estimated Google Play download size decreased from around 16MB to approximately 11.2MB–11.6MB.
Build configurationEstimated Play download sizeOriginal production buildAround 16MBOptimized release buildAround 11.2MB–11.6MB
I did not create a separate production build after every individual optimization, so I cannot accurately say how much each step contributed.
The final reduction came from a combination of:
Removing unused assets
Cleaning unused dependencies
Enabling R8 code shrinking
Enabling Android resource shrinking
Testing the final release configuration
Was the Optimization Worth It?
For a lightweight utility app, reducing the download size by around 4MB–5MB was worth the effort.
A smaller download can be especially useful for users with:
Slow internet connections
Limited mobile data
Low-storage Android devices
Older phones
However, app size should not be optimized blindly.
Do not add risky ProGuard rules, remove required libraries, or break release builds just to save a small amount of storage.
The goal is not to create the smallest possible app.
The goal is to remove unnecessary code and resources without damaging stability.
Final Expo Configuration
Here is the final configuration used in the project:
{
  "expo": {
    "name": "BMI Calculator",
    "slug": "bmi-calculator",
    "plugins": [
      "expo-router",
      [
        "expo-build-properties",
        {
          "android": {
            "enableProguardInReleaseBuilds": true,
            "shrinkResourcesInReleaseBuilds": true,
            "proguardFile": "./proguard-rules.pro"
          }
        }
      ]
    ]
  }
}
The most important lesson was not simply “enable ProGuard.”
It was to measure the correct size, remove unused resources, enable R8 carefully, and thoroughly test the production build before publishing it.
You can download the optimized BMI Calculator app from the Google Play Store.
Enjoyed this article?
Check out more of my content or get in touch if you'd like to work together on your next project.